Wearable project: Visualization of the Quantified Self
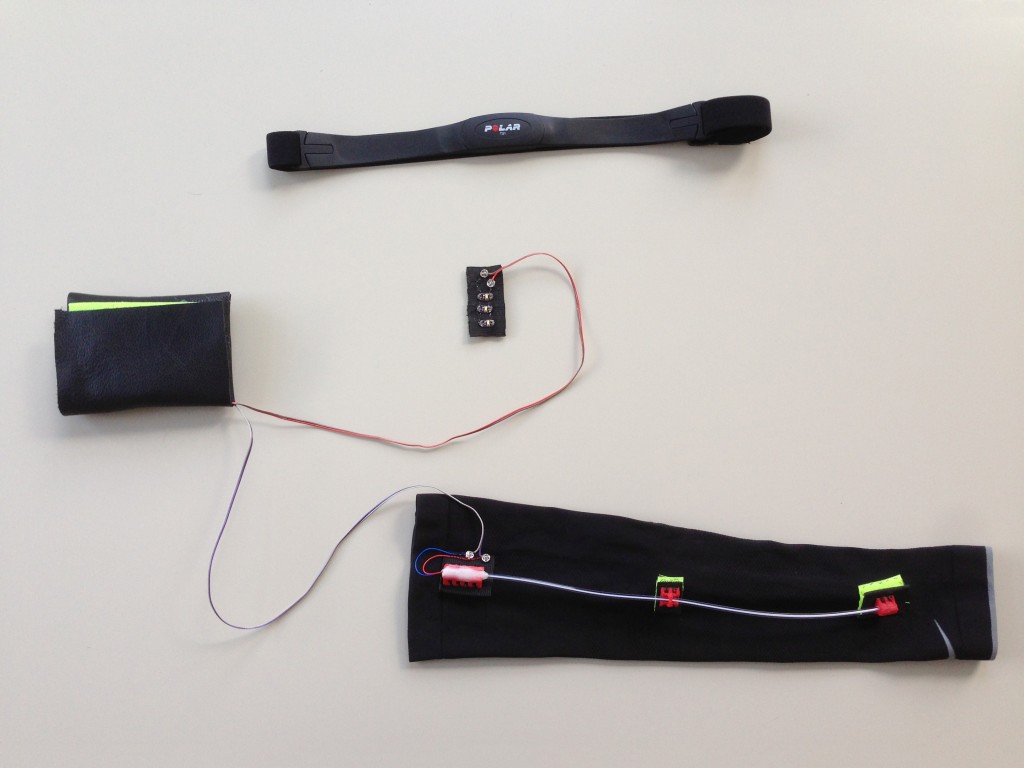
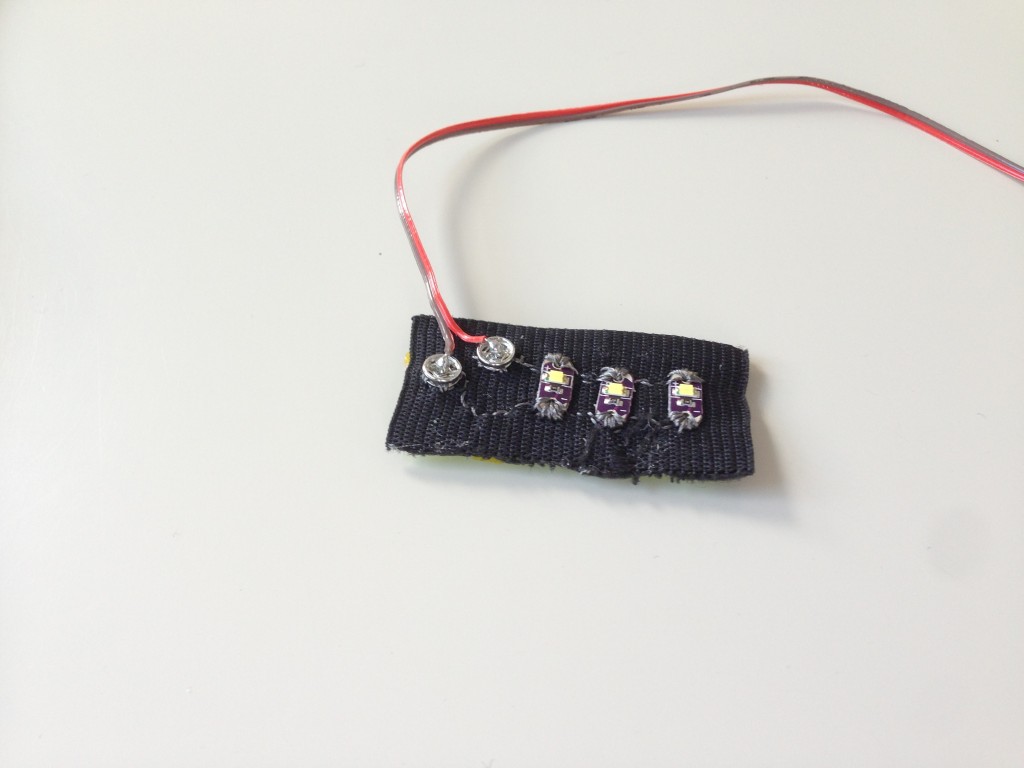
For this project, I set out to create a wearable visualization of heart rate data. In addition to using Lilypad Sewable LEDs, I used a 5v 6mm 650nm dot laser diode coupled to a light pipe. This provides an effect similar to a EL wire, but without the power requirements (no inverter needed!). It also has a pleasantly sparkly look which I like a lot.
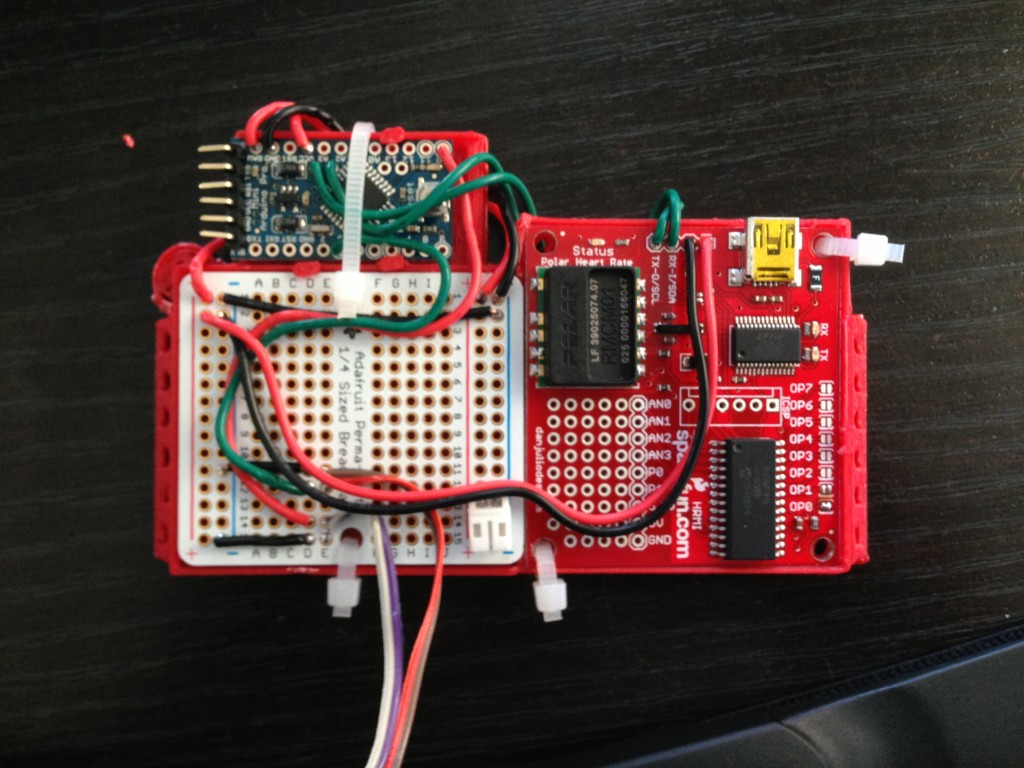
Heart Sensor
For the heart sensor, I started out using the pulse sensor created by Joel Murphy and Yuri Gitman. This is a great sensor, and it worked fabulously well until I started moving around a lot. Since the consistent placement of the sensor was super important, moving around wearing it proved to be really tricky. I tried both ear and finger placement to no avail. I even messed around with 3D printing an enclosure, but it proved to be pretty much impossible. I wanted the system to require as little inconvenience as possible.
After struggling to find a standalone solution, I stumbled upon a blidr tutorial using a Polar Heart rate interface. This turned out to be a much more appropriate method. Most importantly, the uncoded Polar Heart Rate Monitor is a low cost, efficient and commonly available sensor which is popular among runners, and the interface provides accurate, steady results over an i2c interface. This gave me a simple number to work with, which was great for the project.
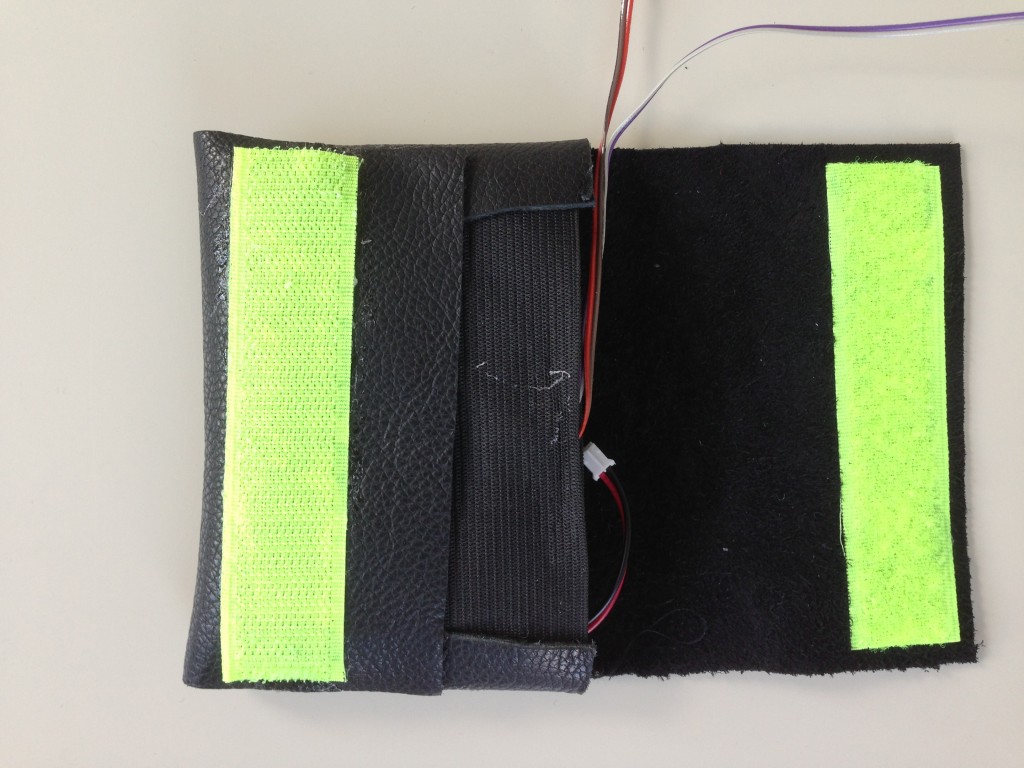
Enclosure Design
To make it possible to have the components all neat and tidy on the body, I designed and fabricated a housing for the components that made it possible to sew into my little pouch.

Laser Diode
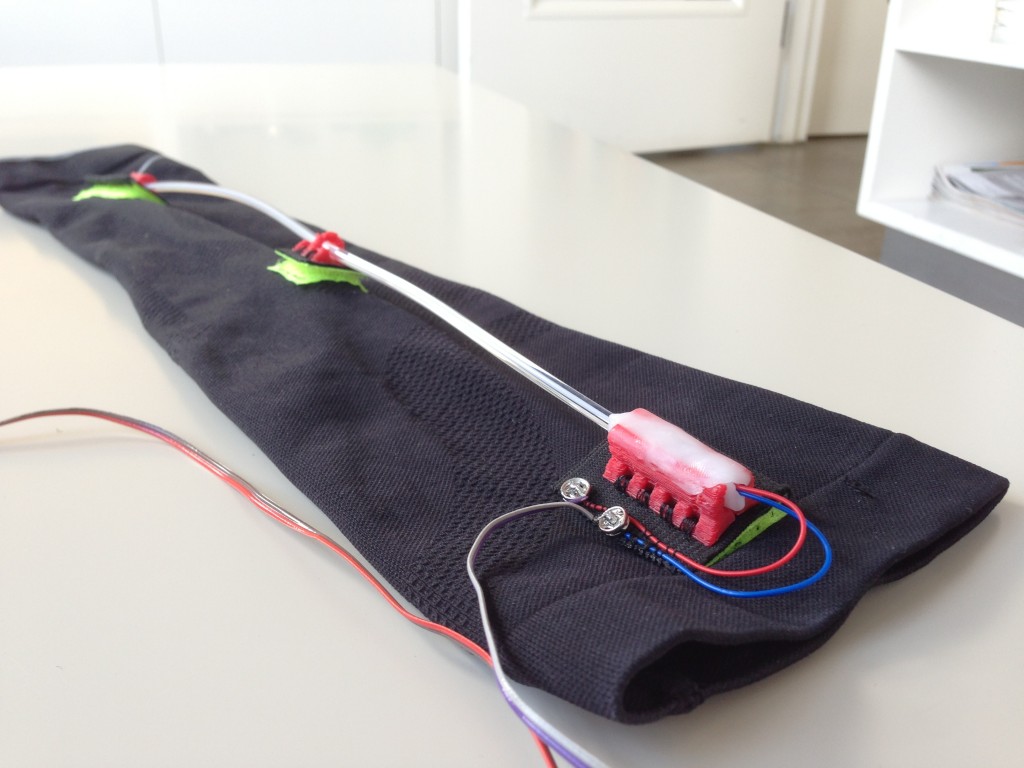
Using the laser diode was also a very simple process, as it readily accepts a PWM signal from the Arduino, just like an LED. While lasers can pose a danger to eyes, diffusing it through the light pipe breaks up the collimated beam and provides a safe and still quite striking glow, which is much subtler than the simple bright light emitted by LEDs.
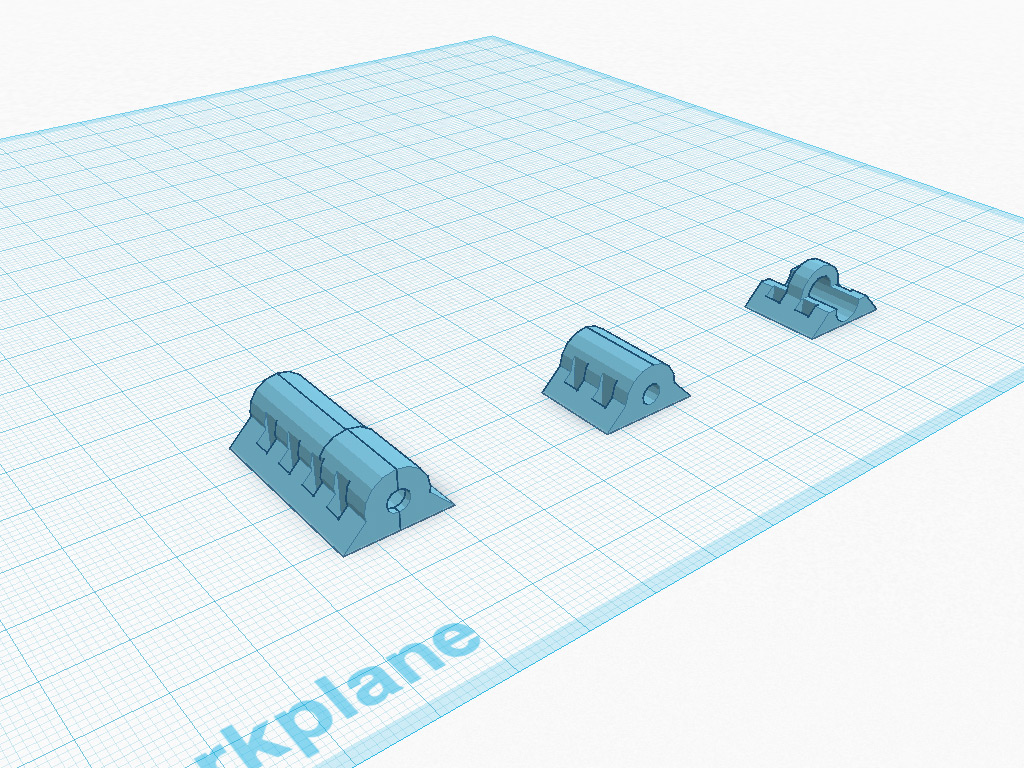
Laser Diode & Light Pipe Coupler and Routing
To mount the Laser to the sleeve in a modular fashion, I designed this coupler and enclosure system with little tabs for sewing onto Velcro.
Modular Design
I took some advice I found on the AdaFruit Learning System and used snaps to connect the status LEDs and the laser module. This makes it easy to remove/replace parts of the system with either different variants to achieve different looks. For instance, a much more low profile visualization could be implemented by duplicating the status LED and using one of those in the place of the Laser.
What’s Next?
While the system is wearable as it is now, I would really like to use the Flora board from Adafruit. During tests, the 3.3v voltage out of the onboard regulator of both the Flora and the Lilypad proved too little to drive the laser diode in a way I found satisfactory. More importantly, the Polar Interface requires 5v to power the logic on the board, so a system running on 3.3v would simply not work. This could be resolved by developing a standalone 5V regulated power supply which could power the Polar board, the Flora and the laser module. The Flora has no problem accepting 5V as a power supply, so this is feasible.
While it would not change the current design much, switching to Flora would allow me to use some other components in the Flora family of products that are very appealing, which I have already sourced. Notable amongst these are the Flora smartpixels, a daisy chainable, sewable RGB LED that would provide me with more options for using colored light for displaying data, and the Flora GPS, which will allow me log GPS data(ideally alongside pulse data).
Code
I have made my latest code available on Google Drive. Download it using the link below.